
Although this was my first time making it all on my own, stromboli is a meal that I grew up eating. In a family of 10, we used dough loafs to feed everyone. In my family, I had success using dough rolls for individual servings. I was worried that I would make too much, and thought it would be easier to grab later on if they were single serve. As it is, everything was devoured.
Of course, you can make your own bread dough and allow it to rise before you work on this meal. I didn't, because I decided to save on time and get a bag of frozen rolls, so that we could use them again. They are so easy to use, and make this meal fast. I followed the regular directions, but they also have a fast rise directions that I've used in the past, and both ways turned out the same.
Ingredients for 3 people:
9 rolls
4 1/2 slices of pre-sliced deli meat (about 1 oz. a slice)
4 1/2 slices of deli cheese (also about 1 oz. a slice)
If you have a favorite dough recipe, use it! This recipe is so versatile. I used ham and swiss, my favorite combination. In the past, my mom used to make a ham and swiss, a ham and american, and a pepperoni and mozzarella, and every took some of each. We didn't even use a whole package between the 3 of us, so ours were just all the same. Make sure to make more than 3 per person if you want leftovers!

I just followed the baking instructions for the rolls from the bag. Pull them out, let them rise for 3-5 hours or until double. Simple enough, requires no effort beyond walking to the freezer, pulling them out, greasing a muffin tin or loaf tin, and of course shutting the freezer door :). Once I was ready to cook them, I continued to follow the directions, preheating the oven to 350 F, and then preparing my rolls.
 |
| Rolled dough. I used flour at first, but didn't need it. |
To stretch them, all I did was with my hands, manually stretching them before laying them on a clean countertop and smoothing out any thick spots. You don't want these too thin, or they will break through, or too thick or they'll probably take longer to cook. I thought "small pizza with a thin crust" kind of thickness.
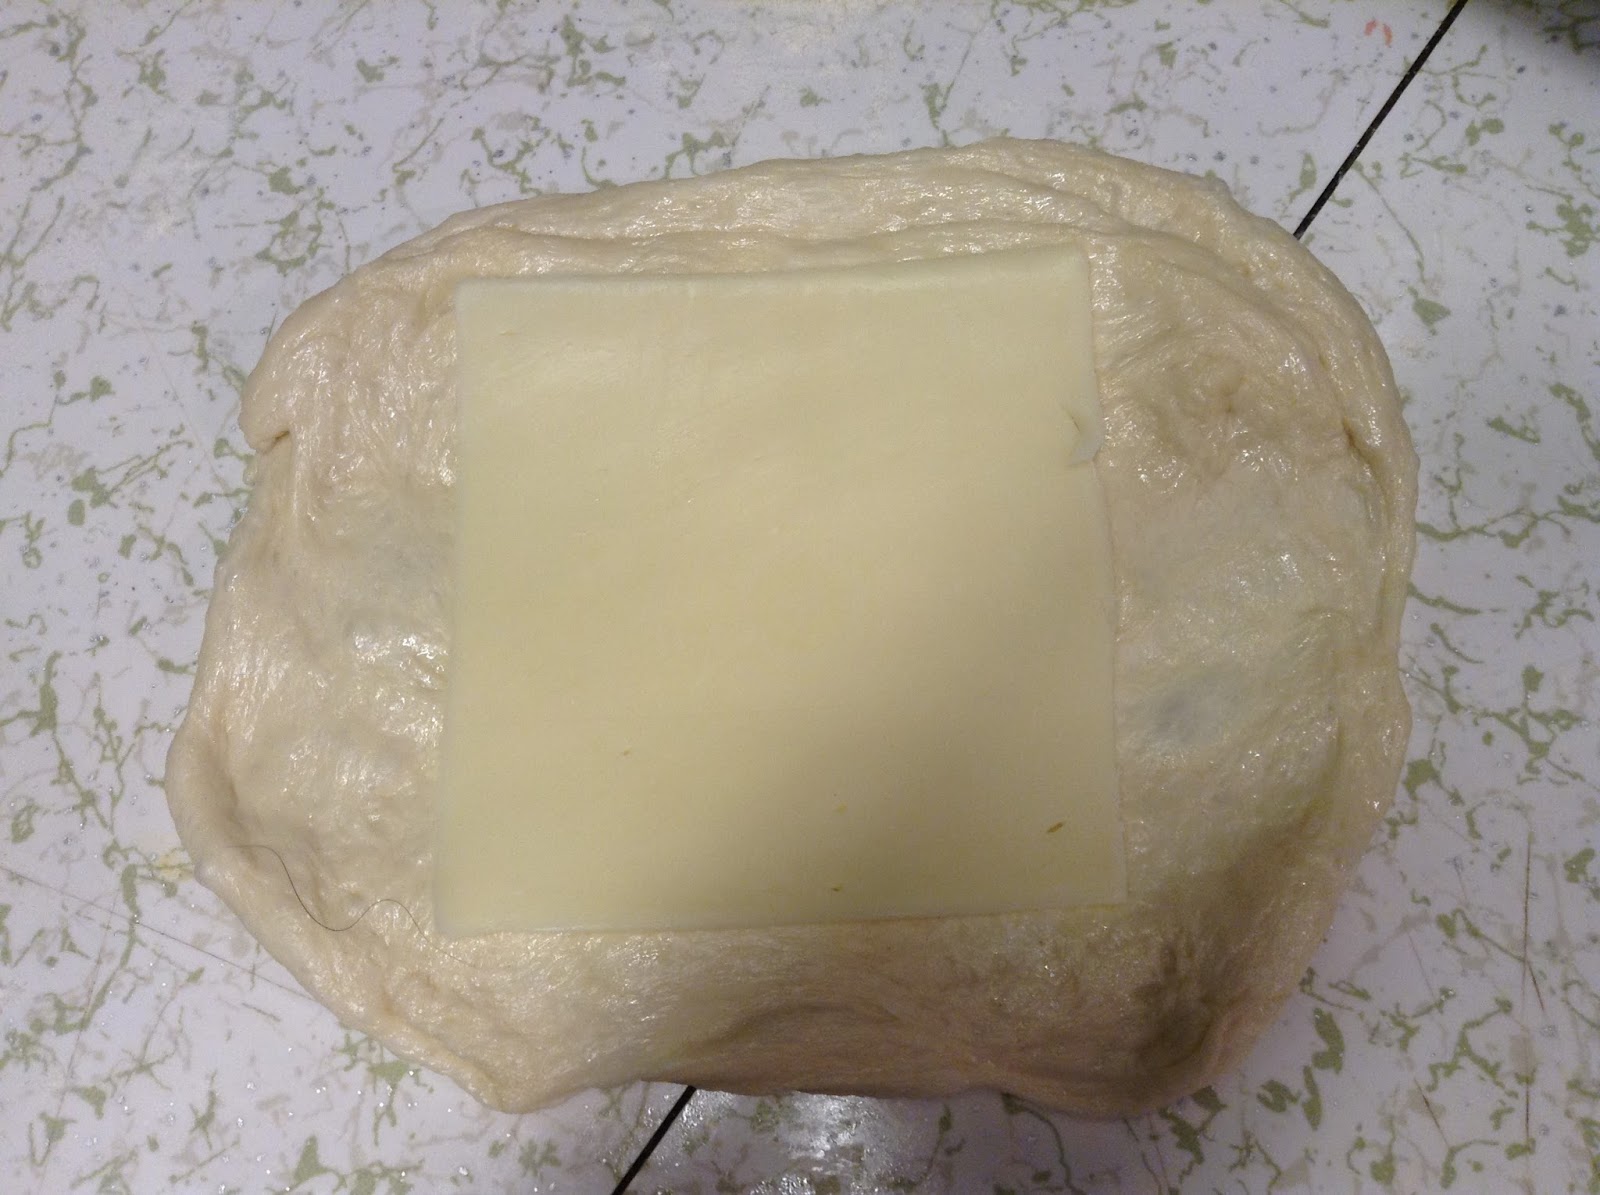 |
| It's kind of hard to see the cheese here. Maybe I should have used cheddar instead. |
 |
| Added the ham. I used 2 rolls worth of dough on some of them, so I put a full slice of ham and cheese on these. |
Place 1/2 slice of cheese on the dough, then 1/2 slice of meat (if using pepperoni, you made need a few slices for 1/2 oz. of meat). Then roll them up and tuck under the ends.

I placed my rolls seam down, but I'm not totally sure whether this or something else caused the cheese to leak out. I didn't ruin the sandwich, however, because most of the cheese stayed inside.
 |
| I love using my new silicone mats. They made clean up and cheese leaking out a minor inconvenience, instead of a huge ordeal. |
 |
| Placing them into the oven. On the left are the ones made with one roll, but the right has some made with 2. |
The package said bake for 15-20 minutes... I checked them after 15, but decided to leave them in for the full 20 so that I knew whether they were done or not. The outsides didn't get hard or dry for that extra 5 minutes.
 |
| I have to work on sealing the edges a little more. |
I love the way they turned out. Sure some of the cheese was melted out, but that technique can be improved and didn't ruin the flavor. If you have older kids, they would get a kick out of helping you in the kitchen with these. Once my daughter turns 2, I'll probably start including her in the laying ham & cheese on the roll part.
 |
| You can see the melted out cheese on the top. Because of the liners, it stayed soft and melty. |
No comments:
Post a Comment